Thursday, September 24, 2015

Vogue Winter/Holiday Patterns.....

So many new patterns!  I haven't even had the opportunity to sew any of the last group.  I guess that means I need to spend more time stitching!

At first glance, I didn't think there was much that was interesting to me but upon closer inspection there was several patterns.


This is V1469.  Isn't this a great silhouette?  I really like this dress.  I love dresses with interesting lines. This would give the allusion of an iron glass figure and be very slimming. Notice, that this one even has pockets.


This is V9156.  Who doesn't love a nice coat?  Love the asymmetric collar not so crazy about the double-breasted front.  I am going to give this one some thought thought because the Version A/B uses snaps rather than the buttons.  I would really like making a coat.  The last coat that I purchased barely lasted a season and for the amount spent I could have made 3 or 4 or 5 coats.  Any one know where you can get really good coat linings?


This is V9155.  Love the View C of this pattern.  This pattern will most definitely be added to the stash.


This is V9150.  I really like the look of View C.  Again, this is a little interest with the seaming and the hang of the skirt.  It is a little more fitted than I would normally go for but I think this will definitely be on the consider list.  Made in a knit, it could be a nice work day dress or church going dress.


This is V9151.  I really like the View B which is illustrated. This view would be very slimming.  I'm going to put this one on the to be considered list.  It really should be made from a light weight fabric and probably have a camisole with it.

Well, that's it for this go around.  I picked out far more patterns that I would ever have time to create or really even need but I can dream.

What do you think of the coming season's Vogue patterns?

Happy Stitching!

Monday, September 21, 2015

Playing with Texture Magic.....

The fall season is almost upon us so my sewing buddy and I got together to play with creating Texture.
 

Texture Magic and Stitch & Steam by Bosal. The two materials look identical.  The Bosal product is suppose to shrink a little more than the Texture Magic.  Most of the playing was with Texture Magic.  I used Bohemeth.   Here's the first thing that I did:


I'm hoping you can see the stitches here.  My first play piece was done with a serpentine stitch and I stitched left to right, and top to bottom.  This took a lot of time to stitch out.


The result is a fairly even distribution of texturing.  This was the Texture Magic.


This sample used a 4-step zigzag stitch with distance between the rows of stitching being the width of the presser foot.  The stitching is from left to right. This resulted in very dense bubbly fabric.  It was much tighter than first sample.  This sample was created with the Texture Magic.


This sample is created identically to the one with the yellow pin in it except the Stitch & Steam was used.  I was a little surprised and I don't know if I did something incorrectly but I expected this to shrink more than it did.


This is the two samples together.  The Texture Magic Sample is the top one with the yellow pin.  You can see that the Texture Magic shrunk more than the Stitch & Steam.  I'm pretty sure that the Stitch & Steam was suppose to shrink more than the Texture Magic.


This sample is using the Texture Magic and a scallop stitch. The stitches are a presser foot apart.  This resulted in a loose wavy material.  Reminded me a little of rapids in the water.


On this sample, I used a heirloom stitch on my machine with the texture magic and used the presser foot for spacing the rows.  This sample reminds me of smocking.  Obviously, there wouldn't be any stretch associated with this.  I can see this being used as a yoke on a little dress.


On this sample, I used the Texture Magic with a straight stitch and did a spiral.  This was fun and I may do another one simple but use a serpentine and see if it looks different.  I love the big poof in the middle with texture going around.

This was a fun notion to play with.  I am still going to play with the Stitch & Steam some more.  I had purchased a yard of it and I have lots of scrap fabric.

I'm not sure what our next sewing session will entail.  My sewing buddy is in the process of building a long arm quilting frame.  I don't know how it is going to turn out but I do plan on having some projects to play with it.  I may end up letting my friend to the quilting on some of my projects for practice.

The Little Singer Featherweight....

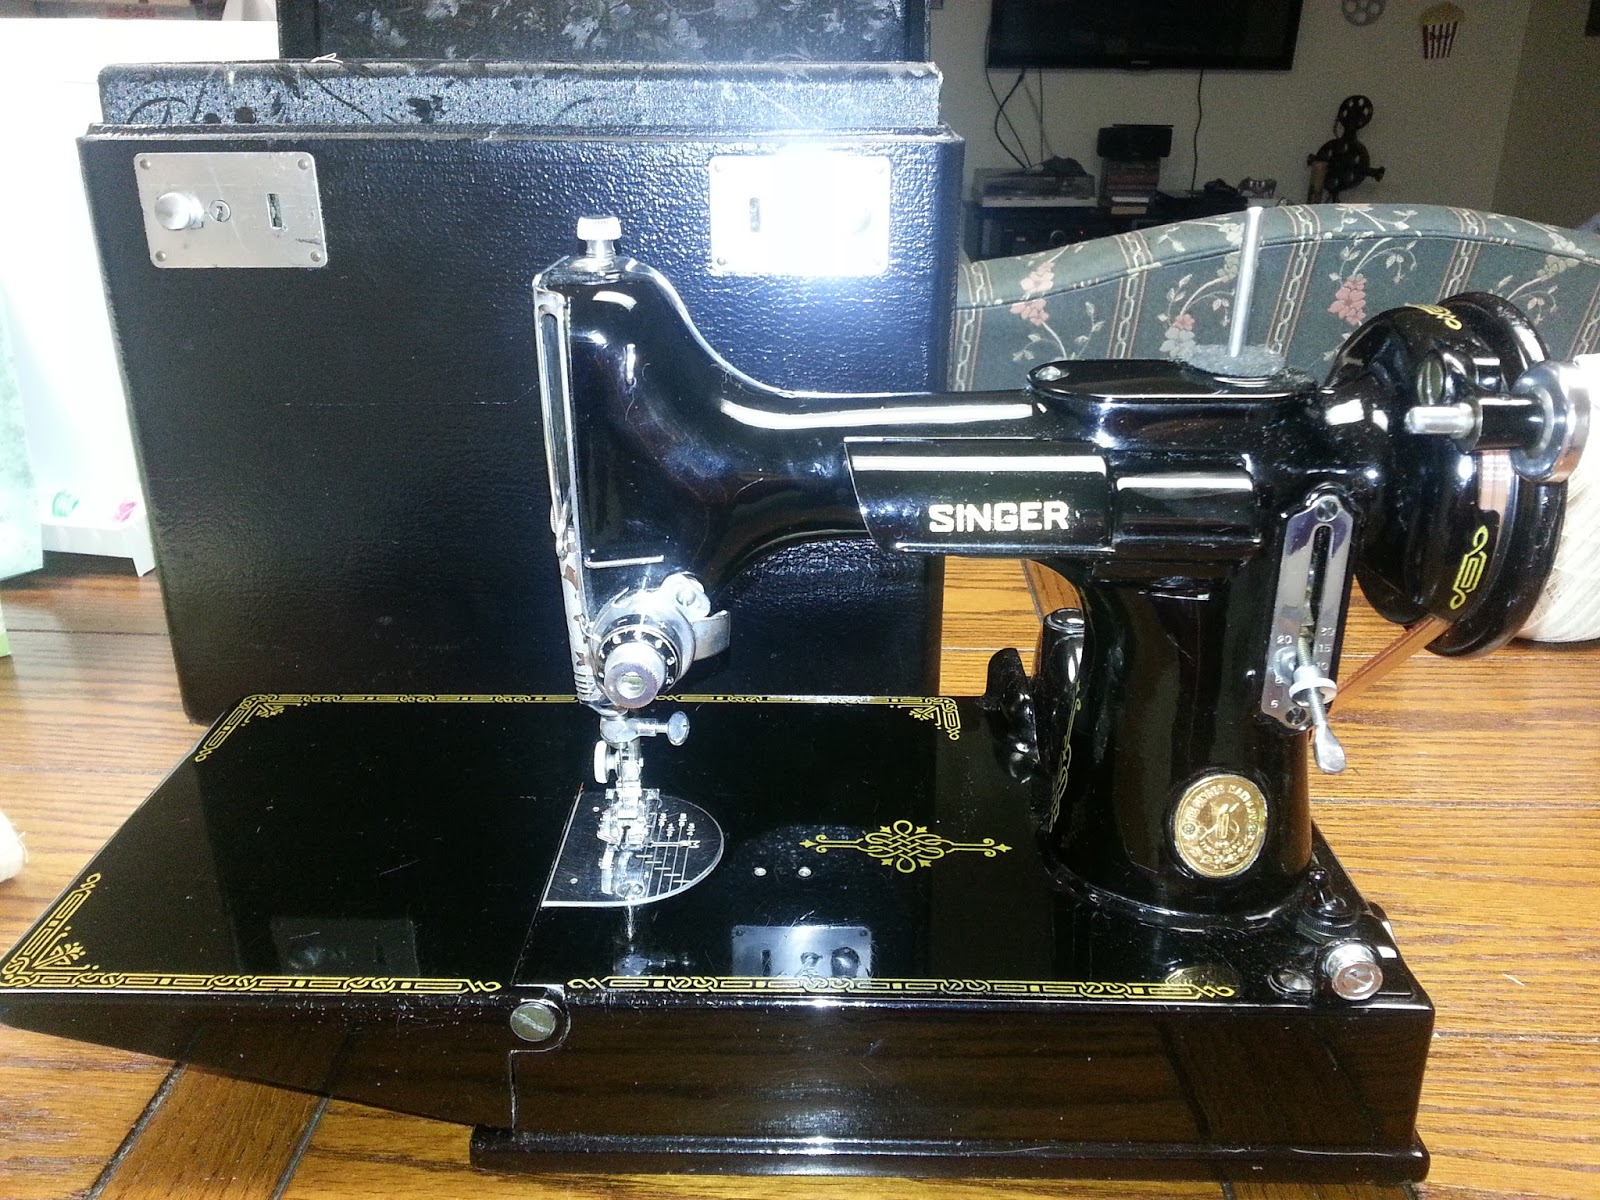
Sunday, I decided to take out my little Featherweight and do a little maintenance.  I purchased this machine 4 or 5 years ago and haven't really taken very good care.  Fortunately, I haven't used it very much either.  In fact, I hadn't even given much thought about the machine needed oiling and lubricant until recently.  Here's my sweet little machine:


According to serial number on this machine, it was produced in August 1950.  The machine itself is in pretty shape.  The decals are mostly in good condition.  There is a spot on the front where the decals are a little worn.  Here's my tools:


Sorry, this picture is a little dark.  I have the machine manual, a bottle of singer machine oil, and the singer lubricant.  In addition, I have paper towels, a brush, and q-tips.  At this point, my little machine is not making a stitch and I strongly suspect that is is entirely user related and most likely that the thread isn't threaded properly.  At least, that is what I'm hoping.  Now, to get started with the maintenance.


I started with removing the face plate on the side.  There is a little thumb screw holding in in place.  I forgot to take a picture with the plate off but there was 11 oiling points behind the plate.  Not all of the oiling points were accessible with the oiling bottle that I have so I will be purchasing a new bottle with a longer snout on it.  I used a q-tip to rub oil into those placing that I was unable to reach.  I doubt that is sufficient.


Here I have loosened the top plate and turned it to the side so that I can get to the gears and oiling points.  There was a little bit of sticky old lubricant on the gears that I removed. There was a total of 11 oiling points on the top, back, and under the top plate. Oiling points were easy to reach with the bottle that I have.  I put a small amount of lubricant on the gears.  Next, I turned the machine on it's back.


See the big thumb screw.  This holds a the bottom plate on and inside is a piece of felt to caught excess oil.  I wasn't sure what I was going to find here.  Again, I missed taking a picture without the cover.  There was 13 oiling points and 1 lubricant point.   All the oiling points were easy to reach with the oil bottle.   The felt pad was in very good condition so I didn't attempt to replace it.  I also checked the feet on the machine and the condition of the wiring.  All was in good shape.


This picture was suppose to show the lubricant points.  There are two.  One is just to the right of my loving orange belt and the other is the silver dot on the right side of the picture.  I did take a pin a pull out as much of the black lubricant as I could.  It was pretty thick and sticky.  Filling the grease tubes was actually the hardest point of this little maintenance job.


Here's the bobbin area.  It's a little dusty and I dusted fairly well.  I double-checked that there wasn't anything thread caught in this area. I also removed the plate to clean the feed dogs. There was a little bit of dust here but it was mostly clean.  Here I made a mistake when I reassembled the plate.  Notice in the picture that the bobbin case actually fits into the plate.  If you ow,miss getting that finger into the plate, the machine will not work.  You know I know this from experience as I didn't get this area assembled corrected the first time I put it back together.

Now, I was to the point of replacing the presser foot, inserting the needle, putting the bobbin in, and threading the machine.  First attempt with inserting the needle, I didn't get the needle inserted all the way into the machine.  This really started me as the needle was hitting the bobbin case.  Fortunately, it didn't take long to figure out the issue.  There are 10 points to threading this little machine.  I was a little nervous at this point.  Would my machine make a stitch?  Would it run smoothly?


Success!  My little machine is stitching fine now.  I was very happy to see that it was making a stitch.  I may play with the tension a little bit but over all it is good.

Do you know that it is recommended that if the machine is used a lot that it should be oiled on a daily basis?  I think back to my very first sewing machine that my Grandmother gave me.  It was a pretty little turquoise portable.  I had it at least 8 years before my Mom took the motor for her machine (yes, I was unhappy about this).  I know I didn't oil that machine once the entire time I had it or clean it.  I suppose I was lucky that it worked the whole time I had it.  This also made me realize how lucky we are that the modern machines do not require any oiling.

I'm ready to start piecing.  I don't know what it will be just yet.

Happy Stitching!


Saturday, September 12, 2015

Fall/Winter Marfy Patterns are Here!

Have you sewn with a Marfy pattern before?  I haven't but I find them interesting.  So, here are my favorites from this line:


This is M3760 Marfy Jacket. I love the look of this coat and would love to create this.  I will keep it on the list just in case I find time to try it.


This is M3752 Marfy Coat.  This coat would get more use in my location.  Gotta keep warm...This will be on the list too.  I really need to learn how to make a coat as the last couple of coats I have purchased were really poor quality.

This is M3795 Marfy Vest.  I like the idea of a vest.  Great for when it a chilly out or for an extra layer when it's very cold.  The lines on this vest are interesting.  Definitely would help adding the allusion of hour glass shape.

I would love to hear about your use of this pattern line.  Have you been successful?  Given the expense of this line, I would like to hear about others experiences.

I'm running a little behind on some of my regular posts but will attempt to get caught up this week.  I know everyone is dying to know how the garden did in August.

Happy Stitching!